Slate roofs have been used for centuries as a durable and attractive roofing material. They remain a popular choice among homeowners today. With proper installation and maintenance, slate roofing can last for 100 years or more, making it a long-term investment in the value and appearance of a home. In this blog, we will explore the process of installing a slate roof and discuss the steps to ensure correct roof installation and protection from water damage. As a homeowner considering new replacement roofs, this guide will provide valuable information on the structure and replacement of slate roofs.
Selecting the suitable slate tiles
When selecting slate tiles for a roof, there are several factors to consider to choose the best tiles for your home. One crucial factor is the thickness of the tiles. Slate tiles come in a range of thicknesses, with thicker tiles being more durable and longer-lasting but also more expensive. It is essential to choose the right consistency for your roof based on your budget and the specific needs of your home.
Another factor to consider when selecting slate roof tiles is the colour and texture of the tiles. Slate tiles are available in various colours, from shades of black and grey to more vibrant hues such as green and purple. The colour of the tiles can significantly influence the appearance of your home. Thus, choose a colour that complements the overall design of your property. The texture of the tiles is also important, as it can affect the overall aesthetic of the roofing and the way it looks from the ground.
When choosing, it is crucial to consider these factors in addition to the quality of the slate tiles. Look for well-made tiles free from defects, as these will likely hold up well over time. Finally, consider the tiles’ cost and ensure they fit your budget. With so many options available, selecting suitable slate tiles for your roof is essential.
Preparing the roof for installation
Before installing a new slate roofing, it is essential to prepare the roof for the installation process correctly. Doing This typically involves removing the old roofing material and repairing any damage to the roof deck.
The first step in removing the old roofing material is to strip off any shingles or tiles still in place. Doing this can typically be done by hand, using a pry bar or a roofing shovel. Once the old roofing material is removed, it is crucial to inspect the roof deck for any damage or possible roof repairs. Any damaged or rotted wood should be replaced with new wood, as it will not support the weight of the new roof.
After the roof deck has been repaired and is in good condition, it is time to move to the next step in the preparation process: installing the underlayment. The underlayment is a protective layer between the roof deck and the slate tiles. It protects the roof deck from water damage and helps hold the tiles. You should install the underlayment according to the manufacturer’s instructions, typically using nails or staples to secure the roof deck.
Once the underlayment is placed, the roof is ready to install the slate tiles. It is crucial to take the necessary time to prepare the top for the tile installation adequately. Doing this will guarantee that the roof is sturdy, long-lasting, and durable. Hire the best roofers in your area to do the slate roof installation. You will know that your new roof has been installed perfectly.
Installing the slate tiles
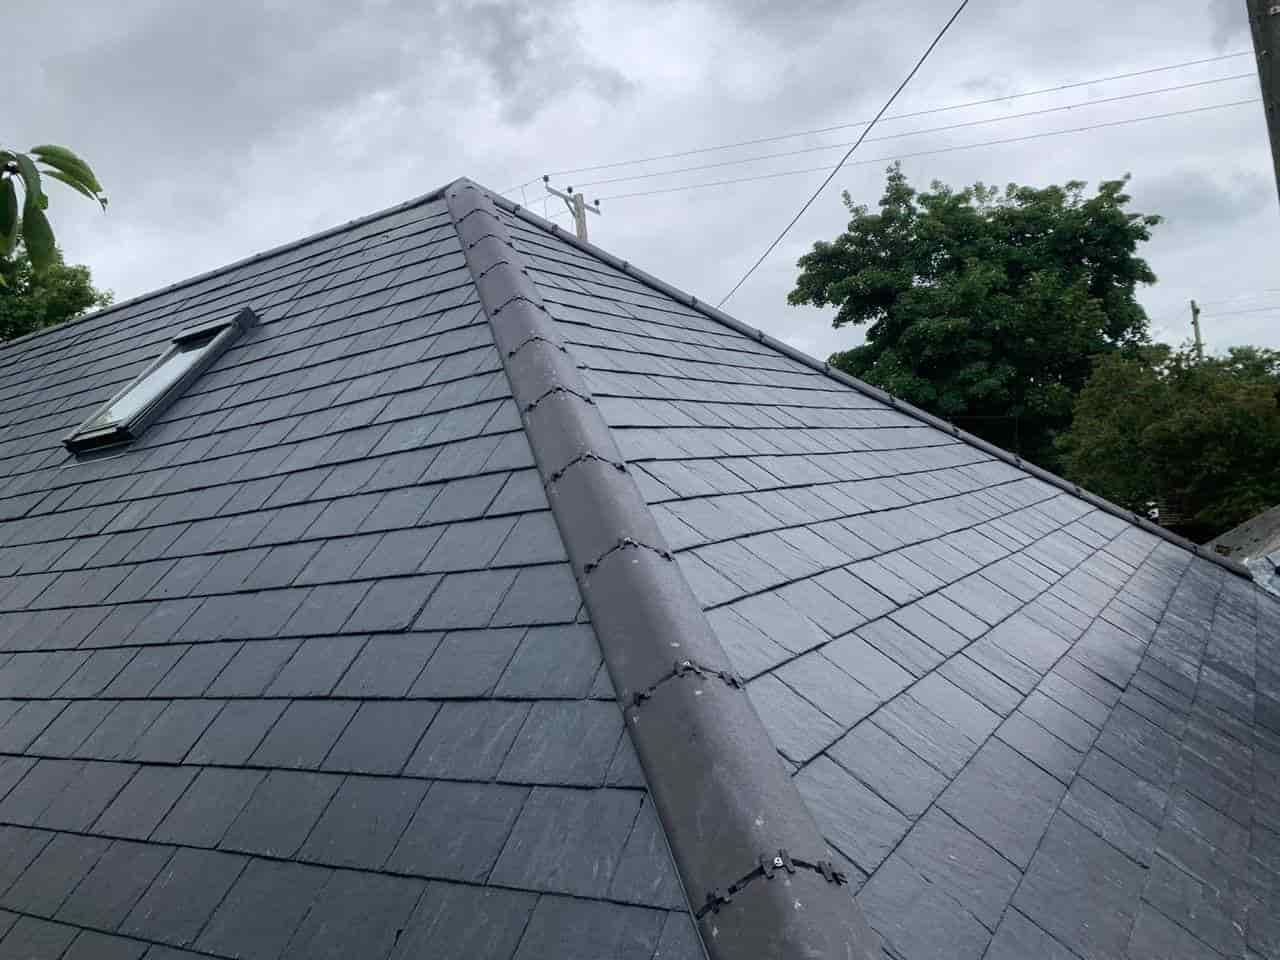
Installing the slate tiles on a roof is a labour-intensive process that requires careful planning and attention to detail. First, your roofing contractors will lay the tiles on the top in a dry run to see how they will fit together and how many tiles will be needed. They will start at the bottom of the roof and work their way up, making it easier to overlap the tiles and create a watertight seal properly.
Once the tiles are ready, the next step is to attach them to the roof. When connecting the tiles, it is also essential to ensure they are correctly overlapped, as this will help create a watertight seal and prevent leaks.
After attaching the tiles to your roof, your roofing contractors will check for any gaps or spaces between the tiles that could allow water to leak through. They can fill these gaps with a sealant or cement, which will help to prevent leaks. You can install slate roofing with strength, durability, and beauty with careful planning and attention to detail.
Finishing touches
After the slate tiles installation, the process will protect the roof from water damage. Another stage is to add a protective sealant to the tiles. A sealant bond is a liquid or pastes applied to the surface of the tiles and dries to form a protective layer.
In addition to applying a sealant, cleaning the roof and removing any debris that may have accumulated during the installation process is essential. Doing this can help to prevent water from collecting on the top and causing damage. Finally, it is a good idea to inspect the roof periodically and make any necessary roof repairs or adjustments to ensure that it remains in good condition over time. With these finishing touches, you can install high-quality slate roofing.
Get the best in Slate Roofing.
Working with experienced and professional roofing contractors is crucial if you are considering installing a slate roof on your home. At Selby Roofing Services, our team of the best roofers has the knowledge and expertise to handle all aspects of slate roof installation, from selecting suitable tiles to adding the finishing touches. We are committed to providing high-quality roofing services that are trustworthy and affordable. Please make an appointment for a consultation with us immediately, and let us assist you with your roofing needs.